

Key Takeaways
Why prep work decides the outcome
Most DIYers spend the most time thinking about paint color and finish. The prep stage gets compressed into an afternoon, or skipped in parts, because it feels like delay. But paint adheres to the surface beneath it, and that surface determines everything about how the finished coat looks and holds up.
A room with patched cracks, clean walls, and properly primed surfaces will look better with a mid-range paint than a neglected room with a premium one. This is not a preference; it is how paint chemistry works. If you want a result that lasts three to five years without peeling, bubbling, or requiring touch-ups, the prep stage is where that outcome gets built.
For context on how skipping prep fits into a broader pattern of DIY cost surprises, see why DIY repairs cost more than expected.
The mistakes most homeowners make before opening a can
The problems that show up after painting almost always trace back to what happened before the first coat went on. These are the prep failures that come up most often.
Clean walls thoroughly before any other prep step
Grease, dust, and residue from cooking or humidity break the bond between paint and wall. Paint applied over a dirty surface will peel or flake within months, even if every other step was done correctly.
Fill every crack, hole, and dent before priming
Paint does not hide surface imperfections; it makes them more visible by creating a uniform sheen that draws the eye to any variation in texture. Skipping repairs leaves the finished wall looking worse than it did before painting.
Use the correct primer for your surface and situation
Not all primers are interchangeable. A flat latex primer over a glossy surface will not bond well. Bare drywall, repaired spots, and stained areas each absorb paint differently, and primer is what creates a consistent base.
Sand between prep stages, not just before priming
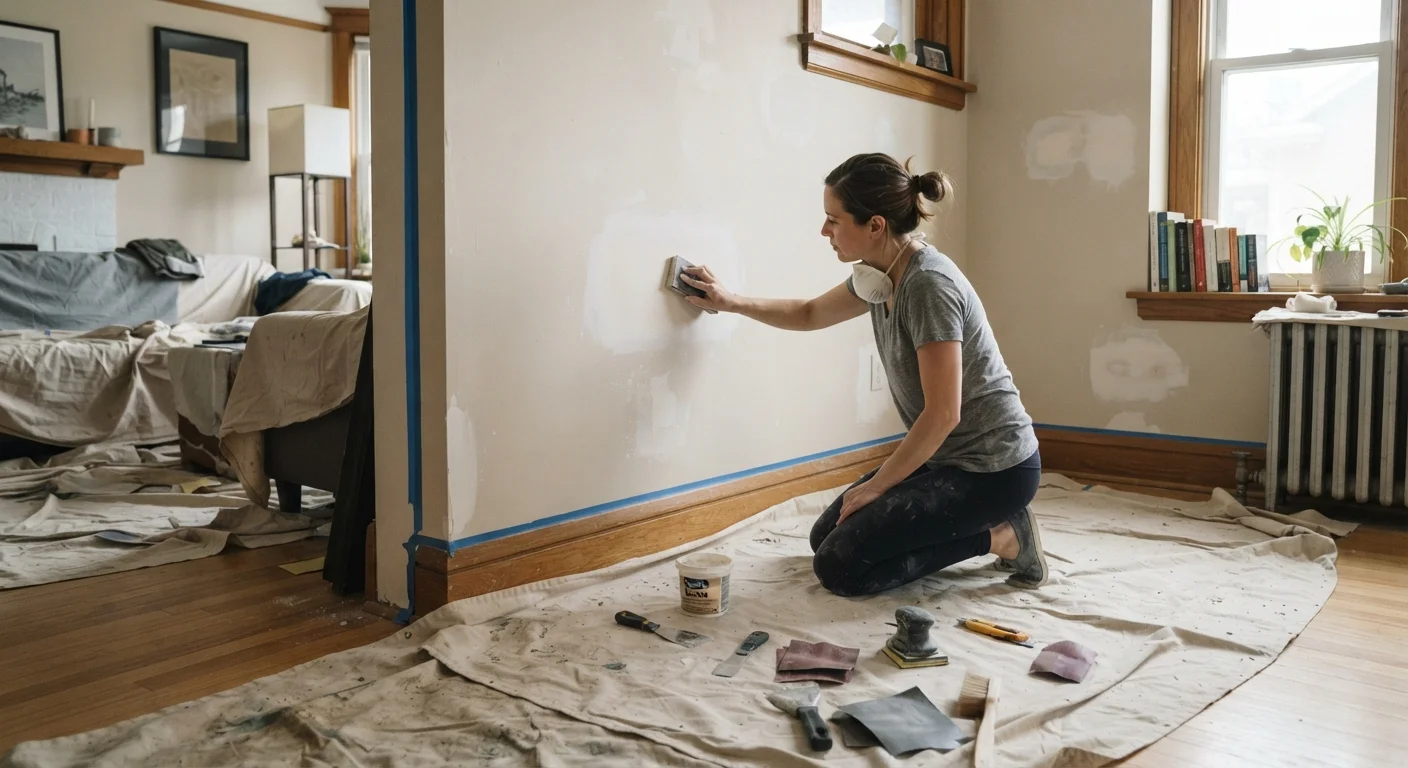
Dried joint compound often has ridges or texture differences at the edges of a repair. Sanding those areas smooth before priming prevents visible bumps in the final coat. After primer dries, a light sand also improves adhesion for the top coat.
Tape slowly and check edges before painting
Painter's tape applied quickly or over dusty surfaces lifts during painting and lets paint bleed underneath, which often means repainting trim or ceiling edges. A clean tape line requires a clean, pressed edge.
If you are weighing whether to hire a painter instead, the factors go beyond cost. The trade-offs between DIY and hiring out covers what to consider on both sides.
Getting started without wasting a weekend
Prep does not have to consume an entire weekend if the work is sequenced well. Treat each stage as a separate task with its own drying window rather than trying to run everything at once.
Painting is one of the more accessible weekend projects that add real value to your home when the prep is handled correctly. Done right, a single room can be prepped one day and painted the next with clean, lasting results.