

Key Takeaways
Summary
28 items · 1.5 to 3 hours
Why air sealing pays off
Drafts do not just make a room uncomfortable. They force your heating and cooling system to work harder, month after month, to compensate for conditioned air that simply escapes. The U.S. Department of Energy estimates that air sealing combined with adequate insulation can cut heating and cooling costs substantially in a typical home. For a family already watching its budget, that is money worth recovering.
The good news is that most air sealing is genuinely DIY-friendly. You do not need a contractor for the majority of what appears on this checklist. Caulk, weatherstripping, foam backer rod, and outlet gaskets are all inexpensive and widely available at hardware stores. The skill required is patience and a willingness to check every likely gap, not construction experience.
If you have been looking at ways to trim recurring household expenses, sealing drafts sits in the same category of practical, repeatable wins described in everyday strategies that quietly reduce monthly bills. A couple of weekend hours now produces savings on every utility bill that follows.
Caulk gun and paintable latex caulk
Seals gaps between stationary surfaces such as window frames, door frames, and wall penetrations.
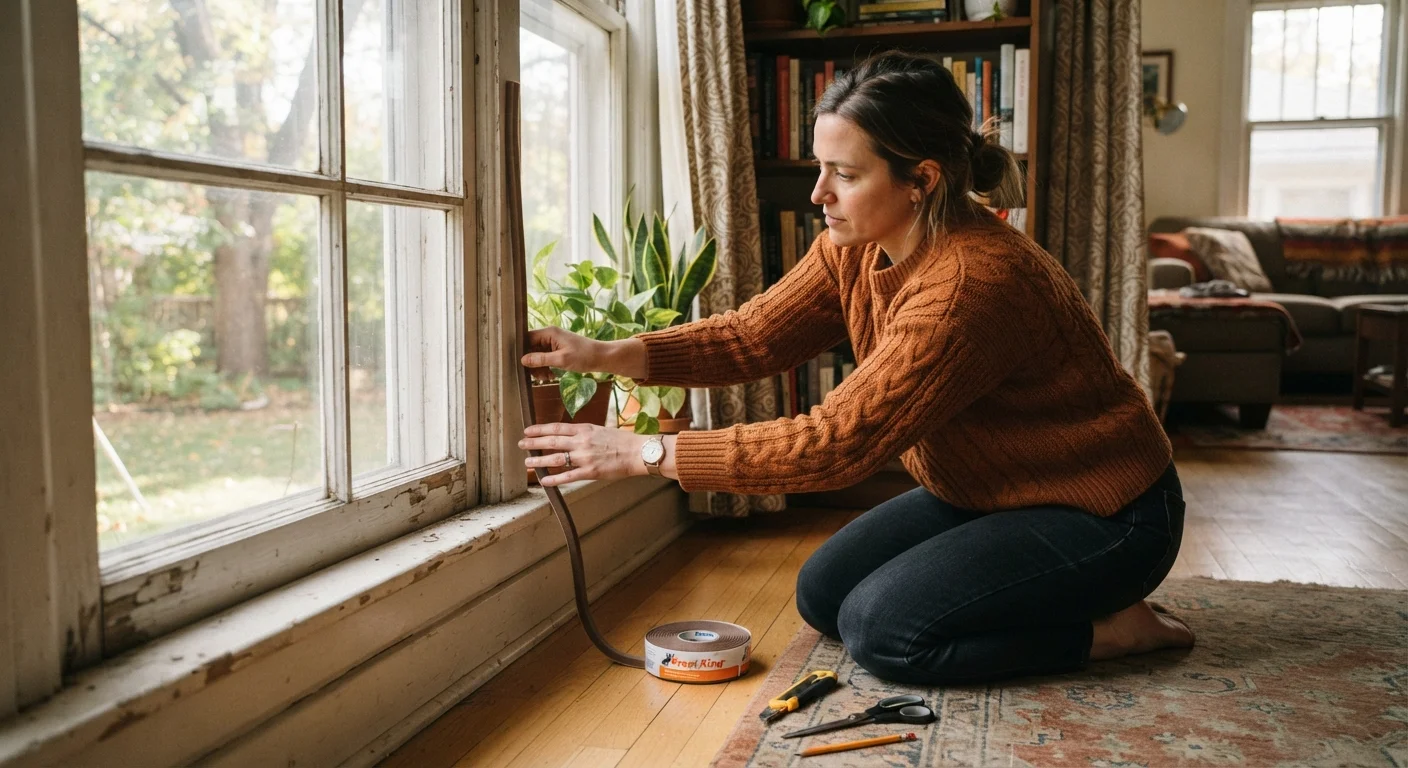
Foam weatherstripping tape
Creates a compressible seal along door and window sashes that move when opened and closed.
Expanding spray foam (low-expansion)
Fills larger irregular gaps around pipes, ducts, and rim joists where caulk cannot bridge the opening.
Outlet foam gaskets
Pre-cut foam pads that sit behind outlet and switch cover plates to block airflow through exterior wall boxes.
Door sweep
Mounts to the bottom of an exterior door to close the gap between the door and the threshold.
Incense sticks or smoke pencil
Lets you visualize air movement near suspected leak locations during the initial audit.
Rigid foam board (cut to fit)
Provides both an air barrier and insulation for attic hatches, crawl space doors, and rim joist cavities.
Painter's tape
Marks identified leak locations during the audit so you can return to each one systematically.
How to find leaks before you seal them
Start with a hand test on a windy day. Hold your hand near window frames, door frames, baseboards on exterior walls, and any penetration in the wall where a pipe or wire passes through. A stick of incense works even better: hold it near suspected gaps and watch for the smoke to waver or get pulled toward the wall.
For a more thorough scan, turn on all exhaust fans (kitchen, bathroom) simultaneously and close all exterior doors and windows. This depressurizes the house slightly and makes infiltration points easier to feel. Move from room to room with your hand or the incense stick.
Do not seal with canned foam near heat sources
Standard expanding spray foam is not rated for use near recessed lights, flue pipes, or chimneys. Gaps within 3 inches of a heat-producing fixture require a fire-rated caulk or intumescent foam specifically labeled for high-temperature proximity. Using the wrong product near these areas is a fire risk, not just an ineffective seal.
Photograph or mark every gap you find with a piece of painter's tape before you start sealing. Working from a marked list prevents you from missing spots once you have your materials out.
Room-by-room checklist
Work through the checklist below in order. The groups are arranged so you cover the highest-impact areas first, then close out the smaller infiltration points that add up over time. Check off each item as you go.
Doors and entryways
Windows
Electrical outlets and switches on exterior walls
Kitchen and bathrooms
Attic access and ceiling penetrations
Basement and crawl space
Final walkthrough
Air sealing is the kind of maintenance task that prevents a cascade of smaller problems: moisture intrusion at gaps, added strain on HVAC equipment, and rooms that never seem to reach the right temperature. It fits the same logic covered in understanding why DIY repairs cost more than expected: catching the problem when it is small and simple keeps it from becoming expensive.
If your audit turns up anything involving gas lines, structural penetrations in load-bearing walls, or electrical panel gaps, stop and contact a licensed professional. The checklist items that follow are limited to cosmetic sealing work any careful homeowner can handle safely.